Cardiopulmonary resuscitation (CPR) is a lifesaving technique crucial in emergency situations following a cardiac arrest, designed to maintain blood flow and oxygen delivery to the brain and vital organs until normal breathing resumes or emergency medical services arrive.
Infants, unlike adults, typically do not suffer cardiac arrest due to heart disease. In babies, it’s more often the result of a severe illness or an injury. Recognizing when an infant needs CPR is the first critical step in this delicate process. It’s imperative to understand that CPR is only necessary if the infant is not breathing normally.
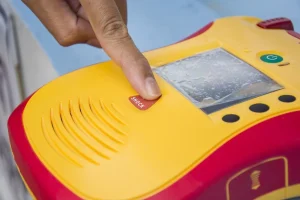
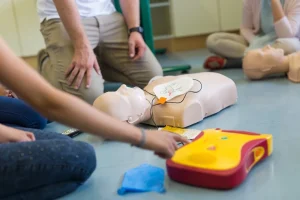
To assess the need for CPR, first check if the infant is breathing. Signs that CPR is necessary include an absence of breath, mere gasping, lack of responsiveness to touch, or a failure to move or regain alertness. If another person is present, immediately instruct them to call for emergency services and retrieve an Automatic External Defibrillator (AED) while you commence CPR.
If you find yourself alone, initiate five cycles of CPR, which should take approximately two minutes, before making an emergency call. Attempt to use an AED if one is accessible. In situations where you’re without a mobile phone, carry out five cycles of CPR first, then seek a landline to call for help and locate an AED if possible.
Continue reading for a detailed guide on performing CPR on an infant, including step-by-step instructions to ensure you’re prepared to act in these critical moments.
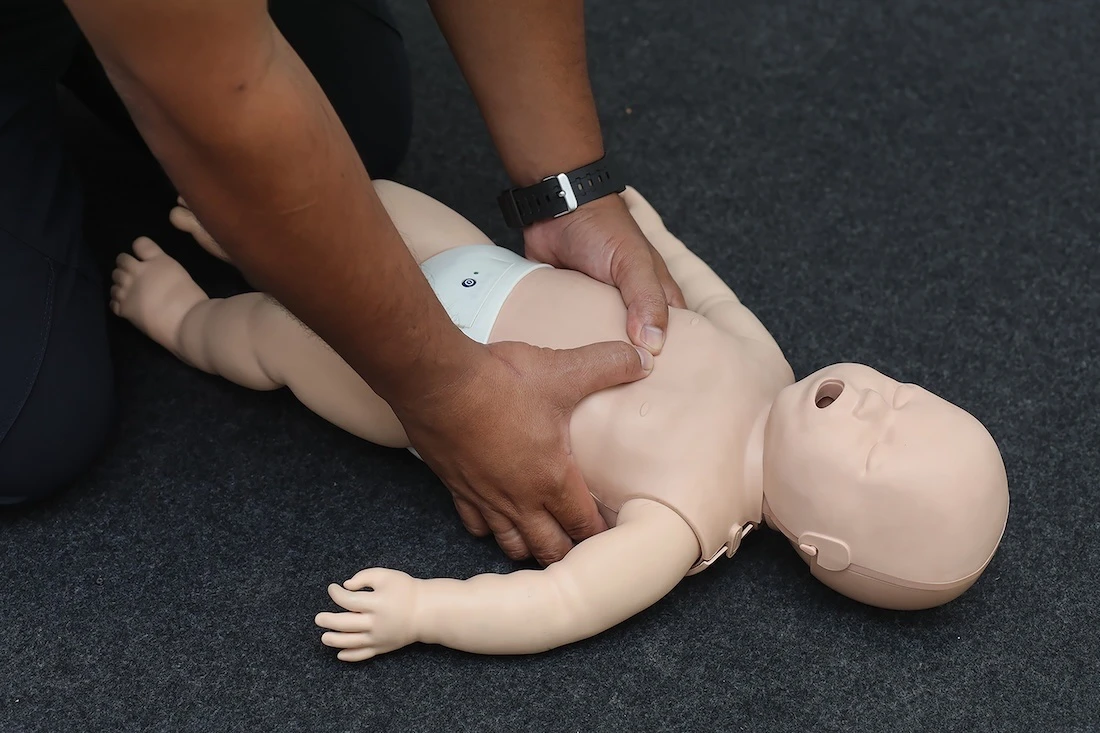
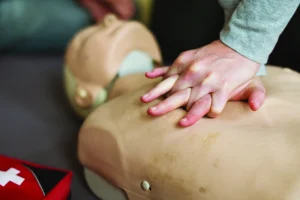
Step 1: Chest Compressions
To perform CPR on an infant, lay your baby down on a flat surface. Without wasting time, put two fingers right below the baby’s nipple line, on the breastbone, and perform 30 chest compressions. Ideally, the chest compressions should be quick, and the chest should be pressed at least 1.5 inches deep. Continue the compressions at a rate of 100 to 120 compressions a minute. Between the compressions, allow the baby’s chest to return to its original position so that the blood flows to the brain and other organs.
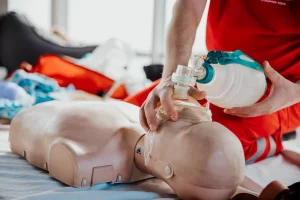
Step 2: Rescue Breaths
After every 30 chest compressions, you give the baby two rescue breaths. But before giving mouth-to-mouth resuscitation, you must first open the infant’s airway. You can do this by placing the heel of your hand on the infant’s forehead. You will then have to put two fingers underneath the baby’s chin. Once your hand and fingers are in place, gradually tilt the head back.
Once the airway opens, seal the baby’s nose and mouth using your mouth and perform two rescue breaths.
While each breath should not be longer than 1 second, it should just be enough to make the baby’s chest rise. If the chest doesn’t rise, check if the head position is correct and whether the seal is tight enough. Then, perform the breaths again.
Step 3: Repeat the Compressions and the Rescue Breaths
Once you’ve given 5 cycles of 30 chest compressions and two rescue breaths in 2 minutes, repeat the practice until professional help arrives or the baby shows signs of consciousness. The 2-minute procedure is typically tiring, so if you have someone there to help you, take turns doing it.
Step 4: Recovery Position
If the baby starts breathing after CPR, they may vomit and have difficulty breathing. Then, you should place the baby in the recovery position. The recovery position means putting them on the ground so that their chin points slightly away from their chest, and their face should be positioned on the surface of the ground. Nothing should cover or block the baby’s nose or mouth now. This position helps keep the baby’s airways open.
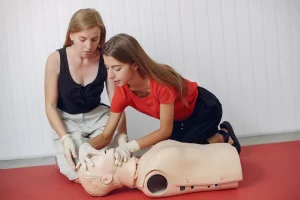
Expert Training
The above information is only a guide on performing CPR on an infant. It in no way replaces hands-on CPR training. If you wish to learn how to perform CPR on an infant and get a two-year certification, sign up for a CPR training course, where you’ll receive training from a certified medical practitioner.