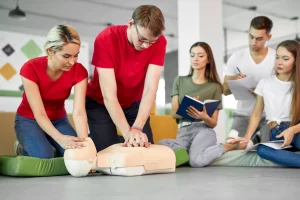

You don’t need to be a doctor to be able to perform CPR. Anyone can learn!
This life-saving activity is something that every person should know how to do. Understanding CPR can help save lives, and the following steps detail how to perform CPR.
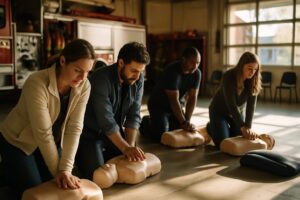
However, just reading about it isn’t enough. To perform CPR correctly, receiving the proper training from a certified medical practitioner is always a great idea.
Before we list the necessary steps, remember to relax and stay calm. Gather your thoughts and take a deep breath. Even bad CPR is better than none at all. You can do this!
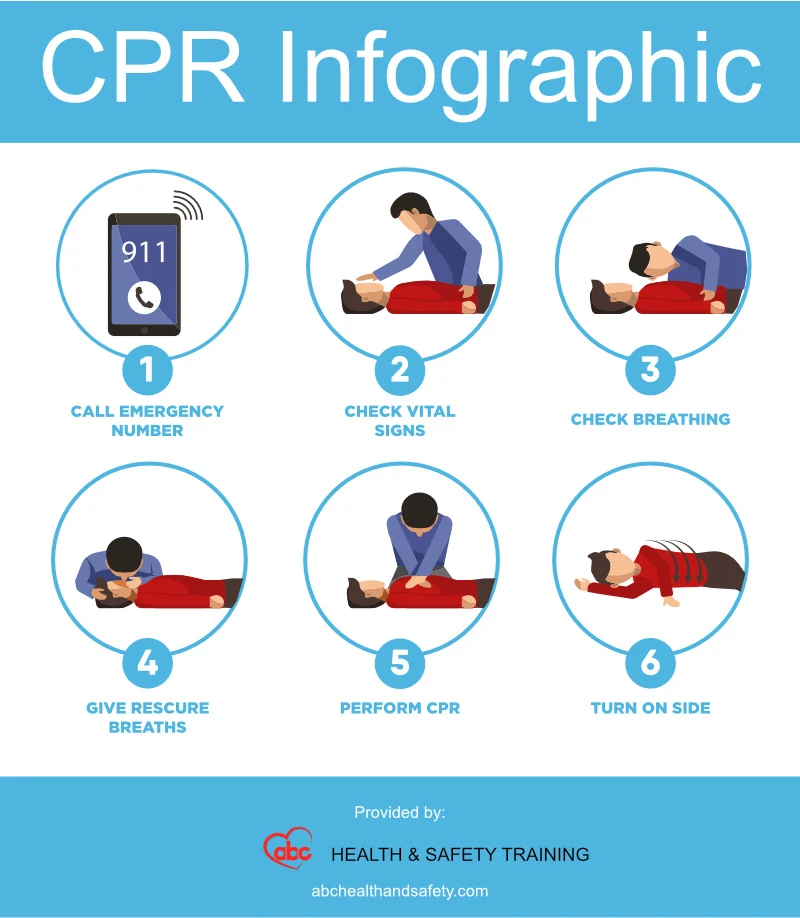
If you sense abnormal or no breathing, the ideal approach is to ask someone to call 911 while you start performing CPR. However, if no one is around, call 911 yourself.
Before you start assisting a patient, it is best to identify the risks and dangers the unconscious person faces. Gently shake the person by their shoulders and ask whether they’re alright. If you see someone around, ask them to stay with you as they might be of help. If you’re alone, call out for help. You should not leave the patient under any circumstances.
To determine whether the person is experiencing a cardiac arrest, check their breathing by looking for chest movements, feeling for their breath on your cheek, or listening through their chest. If you don’t see, feel, or hear them breathing within 10 seconds, it’s a cardiac arrest, and CPR should follow immediately.
If, on the other hand, you sense normal breathing, put the person into the recovery position (on their side) and call an ambulance.
You need to clear the person’s airways if you sense abnormal breathing. To open the airway, gently push the person’s forehead back using one hand, then place two fingers of your other hand under the person’s chin and lift them up. This should open the airways.
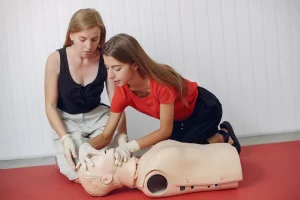
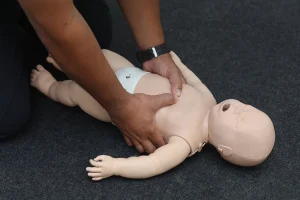
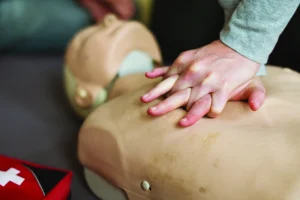
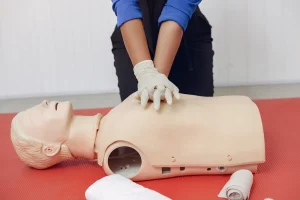
To perform chest compressions, you must kneel close to the person. Put the heel of one hand (with your palm facing downward) in the middle of the person’s chest, and then put the other over the first.
Now, interlock the fingers. Keep your arms straight, and firmly push down the breastbone by 1 to 2 inches using the heel of one hand before releasing.
Perform around 100-120 compressions every minute or two compressions per second.
Do not stop performing chest compressions until the ambulance arrives or you start to get tired. If you get tired, ask someone to take over from you.
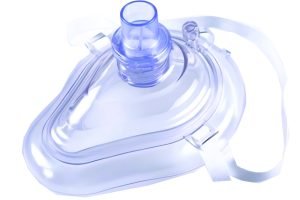
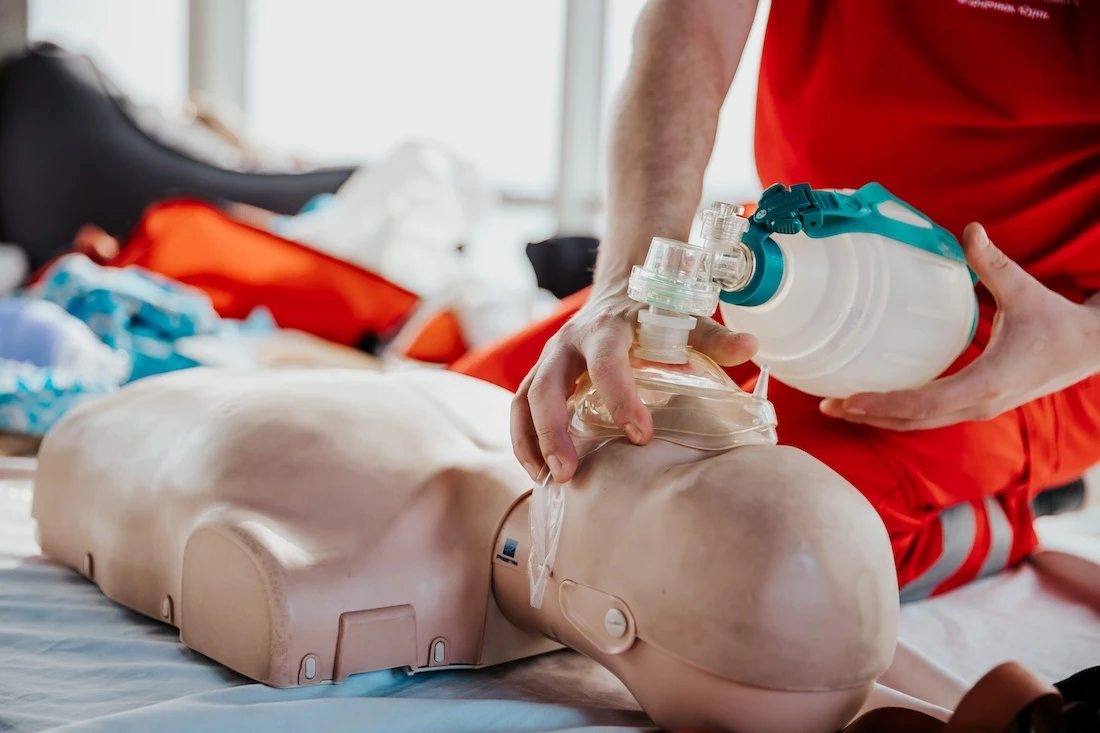
Two rescue breaths should be given after every 30 chest compressions. Once again, tilt back the person’s head and lift the chin to open the airway. Seal their mouth with yours and steadily breathe inside their mouth. This should allow the person’s chest to rise and fall. Repeat the procedure so that both the breaths take a maximum of 5 seconds.
If you don’t feel comfortable giving rescue breaths, stick to hands-on CPR after calling the ambulance.
Keep the chest compressions going until the ambulance arrives, or you see the person showing signs of consciousness, such as opening their eyes, speaking, coughing, or breathing, and then place them in the recovery position. If you feel tired and someone is around, ask them to help with the CPR.
If you know how to perform CPR, you can help keep someone alive until help arrives. If you follow the steps listed above correctly, you should be able to keep the person’s heart pumping until the medical team comes and administers proper care.